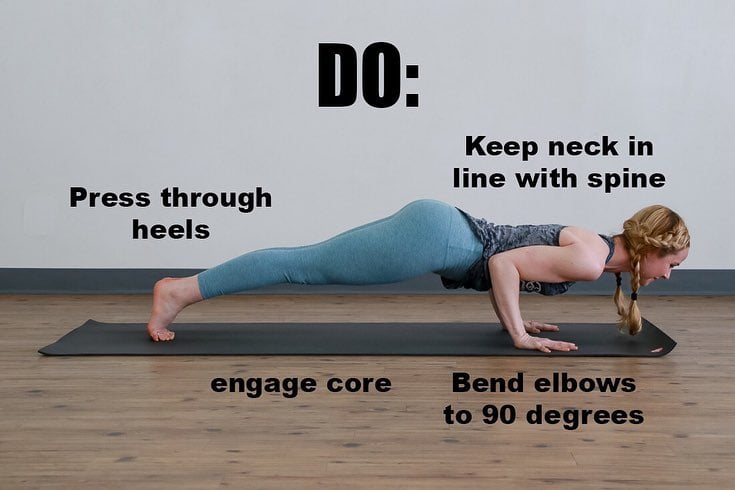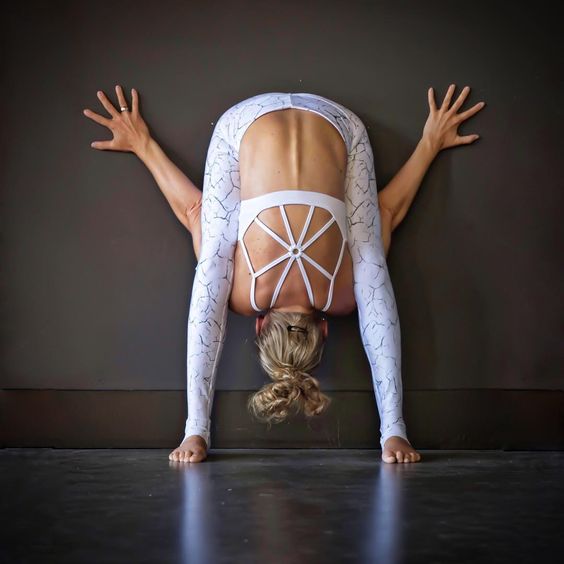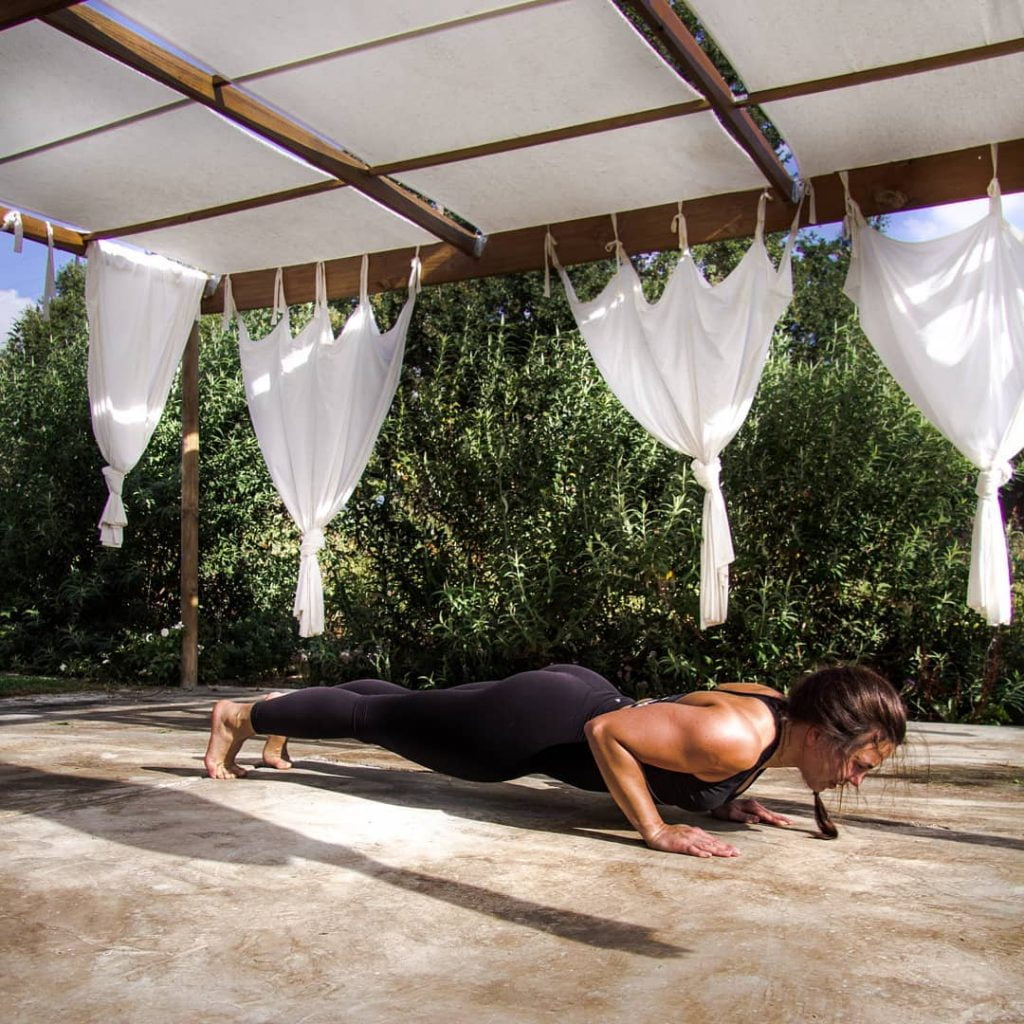
Name of the Yoga Pose: Plank Position or Chaturanga Dandasana (चतुरंग दंडासन) or Four-Limbed Staff Pose
Type of Yoga: Ashtanga or Vinyasa
Level of Yoga: Basic
Duration: As per your capability or 30 to 60 seconds
Target Area: Shoulder blades, Core, Back, Upper Arms
Strengthen Areas: Shoulders, Arms, legs, core strength, building strength of the whole body
Plank position is known as Chaturanga Dandasana (चतुरंग दंडासन) in the Sanskrit Language. The word Chaturanga Dandasana came from four Sanskrit words, where:
“Chatur (चतुर)” means ‘Four’,
“Aang (अंग)” means ‘Limb’
“Danda (दण्ड)” means ‘Staff’
“Asana (आसन)” means ‘Pose’.
So, all together this Plank pose is also called Four-Limbed Staff Pose. It is such an exercise, which is not easy for everyone. So most of the generation does not include the plank position in their workout routine. But let us tell you that by doing the daily practice you get many advantages, which can’t be practiced by any other exercise.
Balancing and strengthening can be achieved only through its regular practice, which is proved to be very important to make the body fit. Let’s know in details about how many types of plank positions are there and the right way to do it.
NOTE:
The Four-Limbed Staff Pose (Plank Position) is a very important part of the Surya Namaskar (Sun Salutations). You can practice Downward Facing Dog before plank.
Source :- static . independent . co . uk
Table of Contents
TYPES OF PLANK POSITION:
During exercise, you have often practiced Plank. There are even individuals who practice Plank only. But if you want you can practice Plank in many ways. Generally, people believe that it only works on your upper body. However, they do not know that the plank pose works on our whole body.
In addition to this, with the regular practice of plank position, you can reduce the risk of obesity, achieve flexibility in the body, get relief from back pain, relieving stress and depression, strengthen inner core mussels, etc.
Thus Plank Position provides a handful number of benefits. And most importantly, to practice plank position you neither need to join any yoga classes or go to yoga teacher. Just keep in mind some of the vital points given in this article below to continue doing this yoga practice.
So let’s talk about the way to do different types of plank positions below.
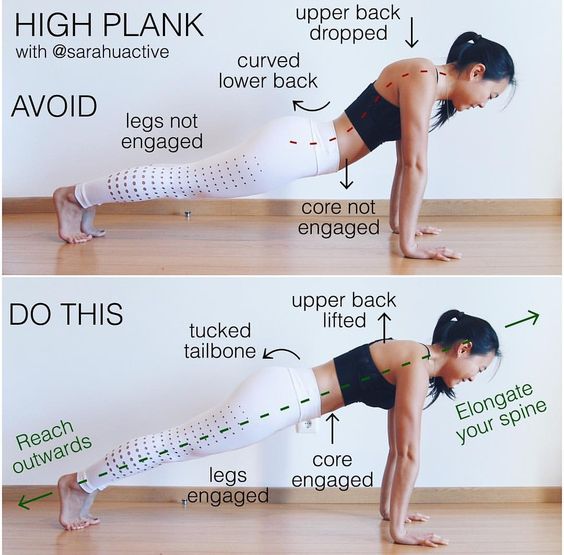
Straight or High Plank
- To practice it, first, drop your knees and sit on the ground
- At the same time, hang the two palms on the floor
- During this time your body should be in the same direction from head to foot.
- Also, the weight of the body should be on the fingers of the arms and legs instead of the palms.
- Stay in this plank position for a while now.
- After this, come to a normal stage.
- Preferably it is better to practice plank positions in front of a mirror
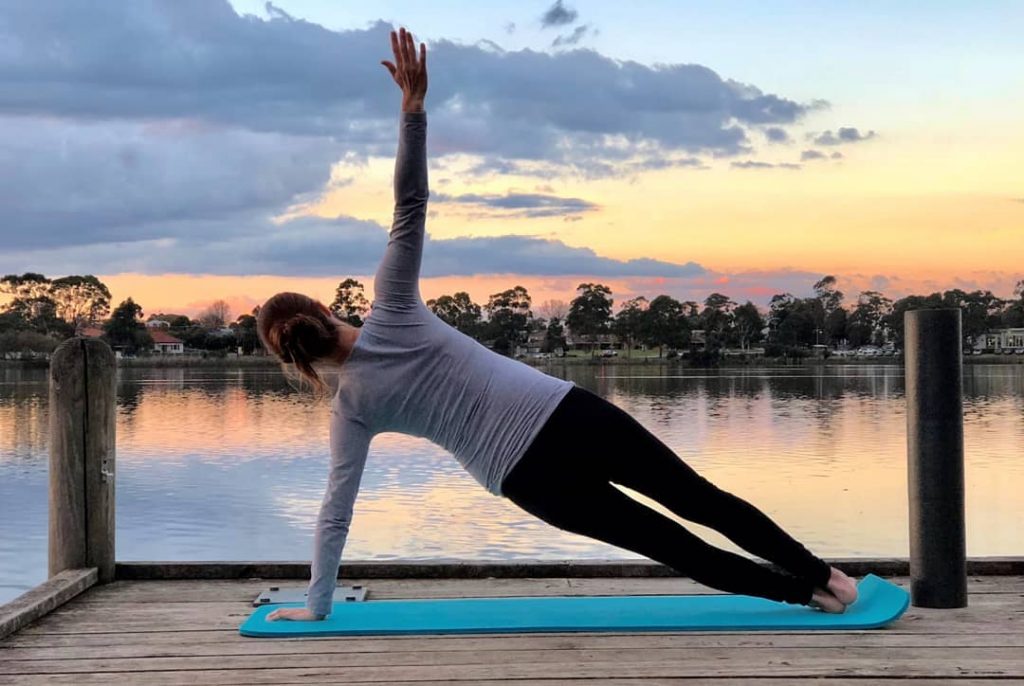
Side Plank
This Plank is done on one hand side
- For its practice, you lie down in the side
- Now place one hand on the ground and with the support of that hand lift your upper body
- Put the other hand on your waist or throw the hand in the air
- During this time your whole body load is on your one hand
- To make variations in it, you can also bend your hand from the elbow and rest that on the ground instead of standing on the palm
- Hold your body in this plank position for about 30-45 seconds
Source :- worldwidelifestyles . com
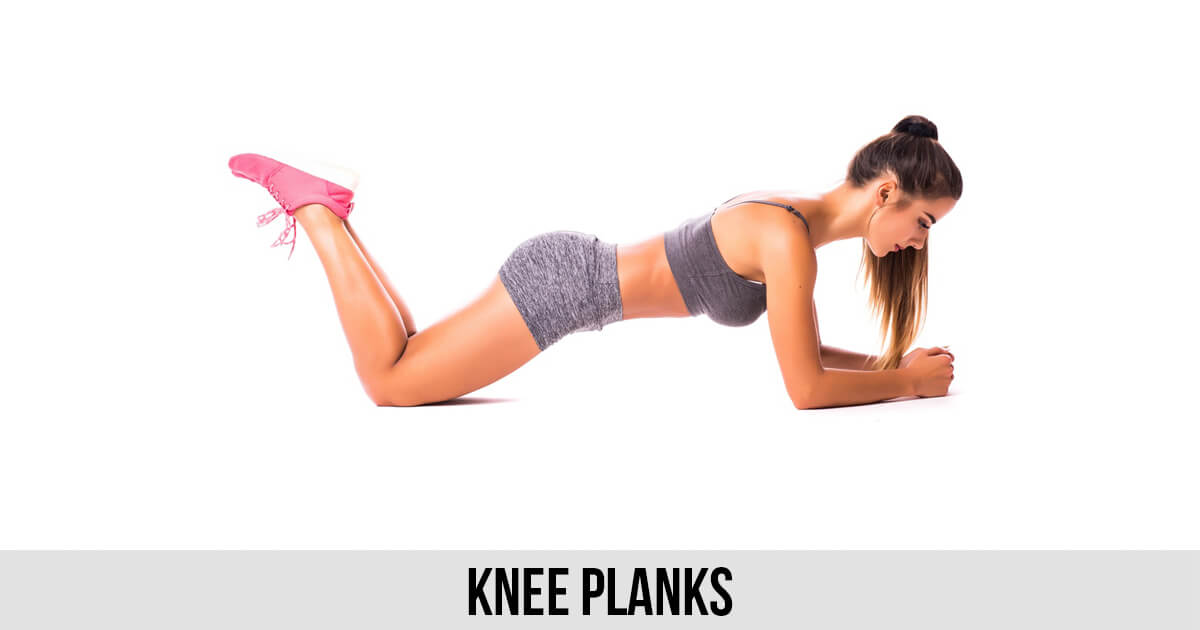
Knee Plank
In this Planck practice, all the weight of your body is in the place of the palms on the knee.
- For this, you lie down in the position of your pushups
- But during this time you should bend your elbows inward on the ground
- And also bend the knees upward as shown in the picture
- Your knees should be on the ground and lower the lower part of the foot above the ground
- Put the head down
- Stay in this state for a few moments
- After this return to the normal stage
- Keep in mind that at this stage your back and hips should be upwards.
Recommended Articles:-
- Brahmacharyasana Steps And Benefits: Know In Details
- 5 Quick And Easy Yoga For Back And Neck Pain
- Shirshasana For Beginners: Step By Step Instructions
- All Details About Anulom Vilom Pranayam
- 15 Astonishing Shirshasana Benefits And Steps To Perform It
- Shirshasana Steps, Benefits, Precautions Everything Is Here
Source :- media1.popsugar-assets . com
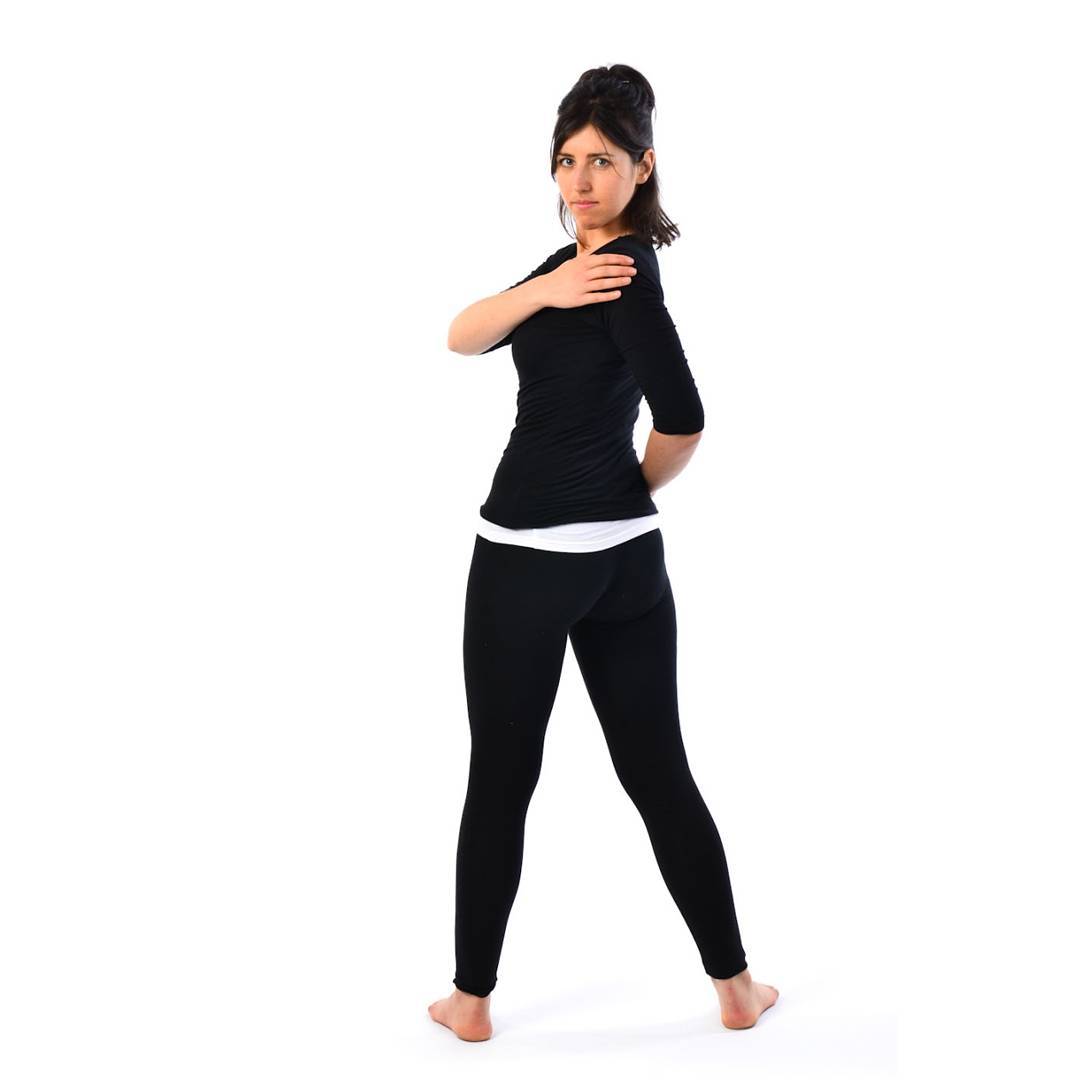
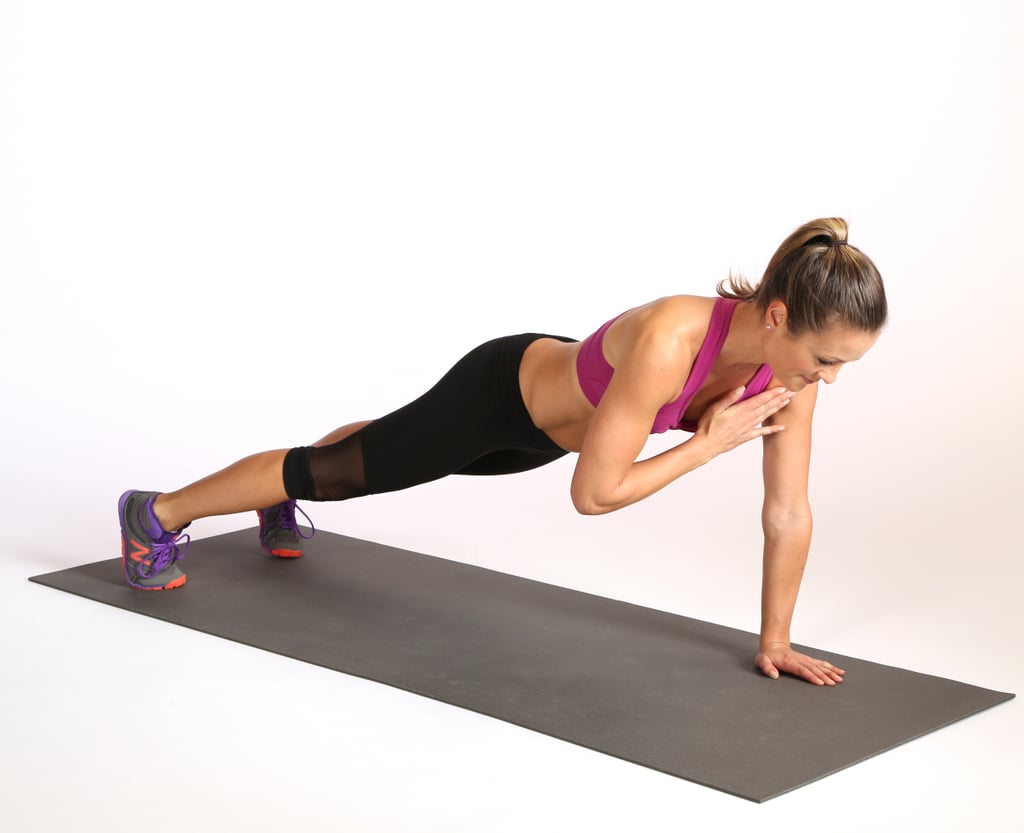
Plank with shoulder touch
It is a bit difficult to do this plank position. So you should practice it only when you get used to Plank
- To do this, you have to practice like a standard plank.
- But in straight plank where both of your hands are on the ground while exercising Plank with shoulder touch, one hand is on the ground and the other hand is on your shoulder (See the Image)
Low Plank
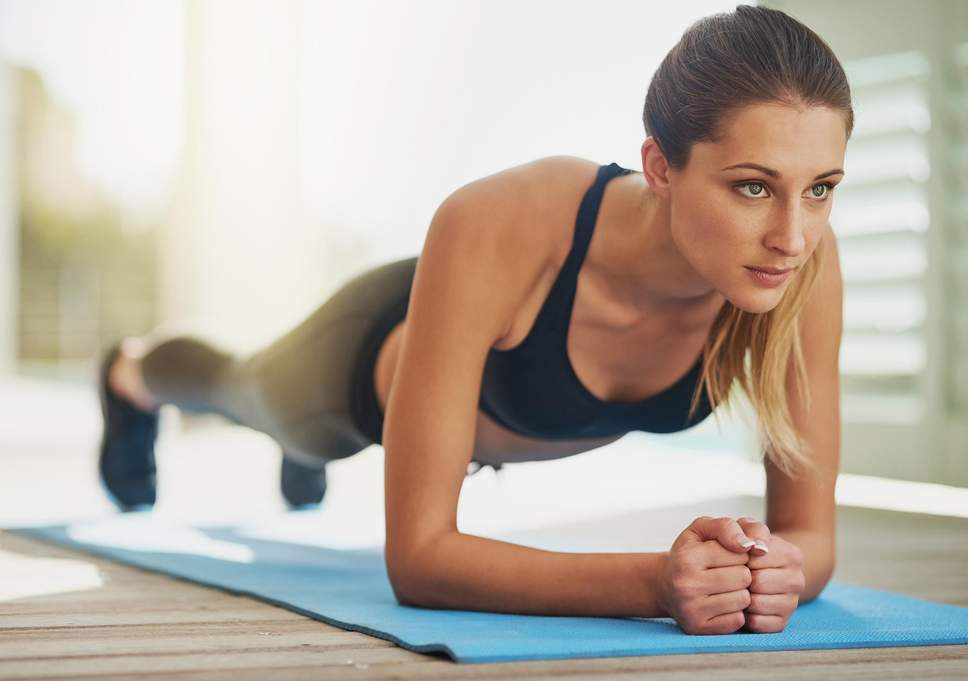
- To practice, low plank get into the pushup pose
- Bend your elbows to 90 degrees angle
- Rest the body weight on the forearms instead of on the palms
- Your body should be in a straight line and parallel to the floor at this point of time
- Clench the abdominals to hold this plank position for sometimes.
Precaution to take during Plank position:
While engaging in plank positions, numerous benefits can be derived; however, it is crucial to be mindful of certain aspects to maximize the effectiveness of the exercise.
- First of all, if your core muscles are weak then do not practice it.
- If you have high blood pressure then avoid doing this
- Do not stick your butt out while practicing plank
Benefits Of Plank Positions:
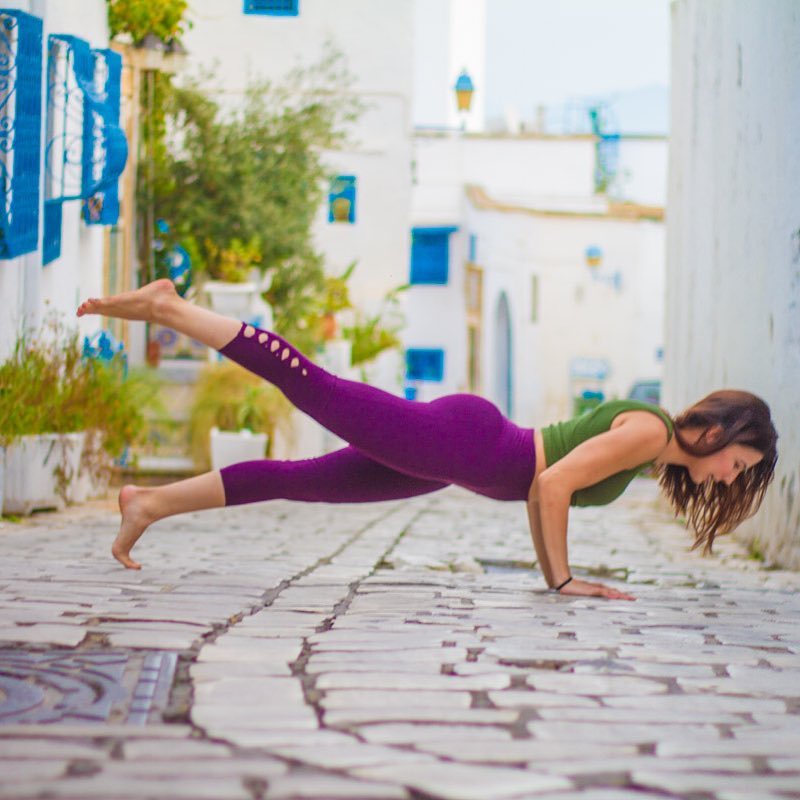
Physical balance:
Planking gives you physical balance. There is no pressure on any particular organ to perform any plank position. This exercise works on the whole body at once. So, to increase the balance everyone should try this regularly.
Flexibility increases:
It is important to have muscle flexible because it decreases the risk of cramps and injuries. Plank makes your shoulders, hamstrings, and collarbone flexible by stretching.
Posture:
While planking, you have to keep your wrist straight. Thereby strengthening the upper and lower part of the waist and the shape of the body is correct.
Metabolism increases:
Many muscles are active together in Plank Positions. Because of which metabolism increases and extra fat does not grow on the body. Along with this, you do not have problems like gas, indigestion.
The core is strengthened:
Doing these exercises strengthens your core (stomach and its surrounding muscles). Which causes excess fat burn and you are thin. At the same time, you get more weight in strength training.

